
Building TMT Mirror Visualization with LLM: A Step-by-Step Journey

Unmesh is a Distinguished Engineer at Thoughtworks, based in Pune, India. He is the author of Patterns of Distributed Systems

This article is part of “Exploring Gen AI”. A series capturing Thoughtworks technologists' explorations of using gen ai technology for software development.
30 April 2025
Creating a user interface that visualizes a real-world structure — like the Thirty Meter Telescope's mirror — might seem like a task that demands deep knowledge of geometry, D3.js, and SVG graphics. But with a Large Language Model (LLM) like Claude or ChatGPT, you don't need to know everything upfront.
This article documents a journey in building a complex, interactive UI with no prior experience in D3.js or UI development in general. The work was done as part of building a prototype for an operational user interface for the telescope's primary mirror, designed to show real-time status of mirror segments. It highlights how LLMs help you “get on with it”, giving you a working prototype even when you're unfamiliar with the underlying tech. More importantly, it shows how iterative prompting — refining your requests step-by-step — leads not only to the right code but also to a clearer understanding of what you're trying to build.
The Goal
We wanted to create an HTML-based visualization of the Thirty Meter Telescope's primary mirror, composed of 492 hexagonal segments arranged symmetrically in a circular pattern.
We began with a high-level prompt that described the structure, but soon realized that to reach my goal, I'd need to guide the AI step by step.
Step 1: The Initial Prompt
“I want to create an HTML view of the Thirty Meter Telescope's honeycomb mirror. Try to generate an HTML and CSS based UI for this mirror, which consists of 492 hexagonal segments arranged in a circular pattern. Overall structure is of a honeycomb. The structure should be symmetric. For example the number of hexagons in the first row should be same in the last row. The number of hexagons in the second row should be same as the one in the second last row, etc.”
Claude gave it a shot — but the result wasn't what I had in mind. The layout was blocky and not quite symmetric. That's when I decided to take a step-by-step approach.

Step 2: Drawing One Hexagon
“This is not what I want... Let's do it step by step.”
“Let's draw one hexagon with flat edge vertical. The hexagon should have all sides of same length.”
“Let's use d3.js and draw svg.”
“Let's draw only one hexagon with d3.”
Claude generated clean D3 code to draw a single hexagon with the correct orientation and geometry. It worked — and gave me confidence in the building blocks.
Lesson: Start small. Confirm the foundation works before scaling complexity.

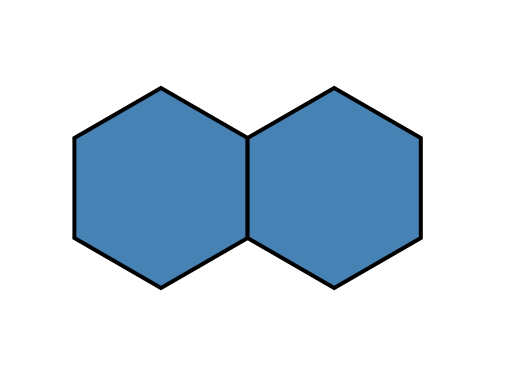
Step 3: Adding a Second Hexagon
“Nice... Now let's add one more hexagon next to this one. It should share vertical edge with the first hexagon.”
Claude adjusted the coordinates, placing the second hexagon adjacent to the first by aligning their vertical edges. The layout logic was beginning to emerge.
Step 4: Creating the Second Row
“Now let's add one more row.
The hexagons in the second row share vertical edges with each other similar to the first row.
The top slanting edges of the hexagons in the second row should be shared with the bottom slanting edges of the hexagons in the first row.
The number of hexagons in the second row should be such that the first row appears centrally positioned with the second row.”
Initial attempts failed to properly align the slanting edges.

But eventually, after clarifying spacing and offset logic, Claude got it right.
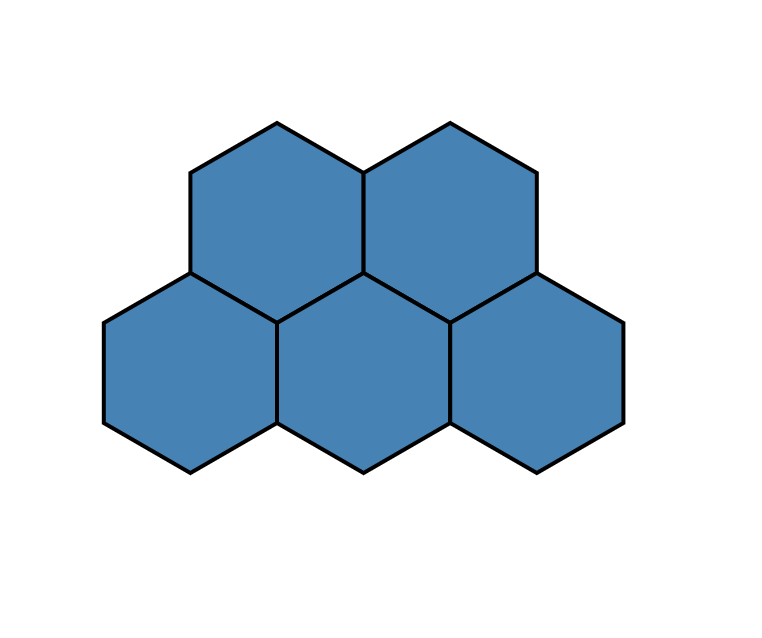
Lesson: Geometry-based layouts often require multiple iterations with careful visual inspection.
Step 5: Expanding into a Symmetric Structure
Claude used a ring-based layout approach to simulate circular symmetry. But at first:
Then I suggested:
This change improved symmetry and helped achieve a visually circular layout. The number of hexagons per row increased and then decreased — exactly as desired.
Step 6: Tuning the Central Opening
By reducing the empty space and rebalancing the inner rings, we finally got a well-packed, circular structure with a small central gap — matching the TMT design.
Lesson: Use domain-specific constraints (like total count = 492) as guideposts for layout parameters.
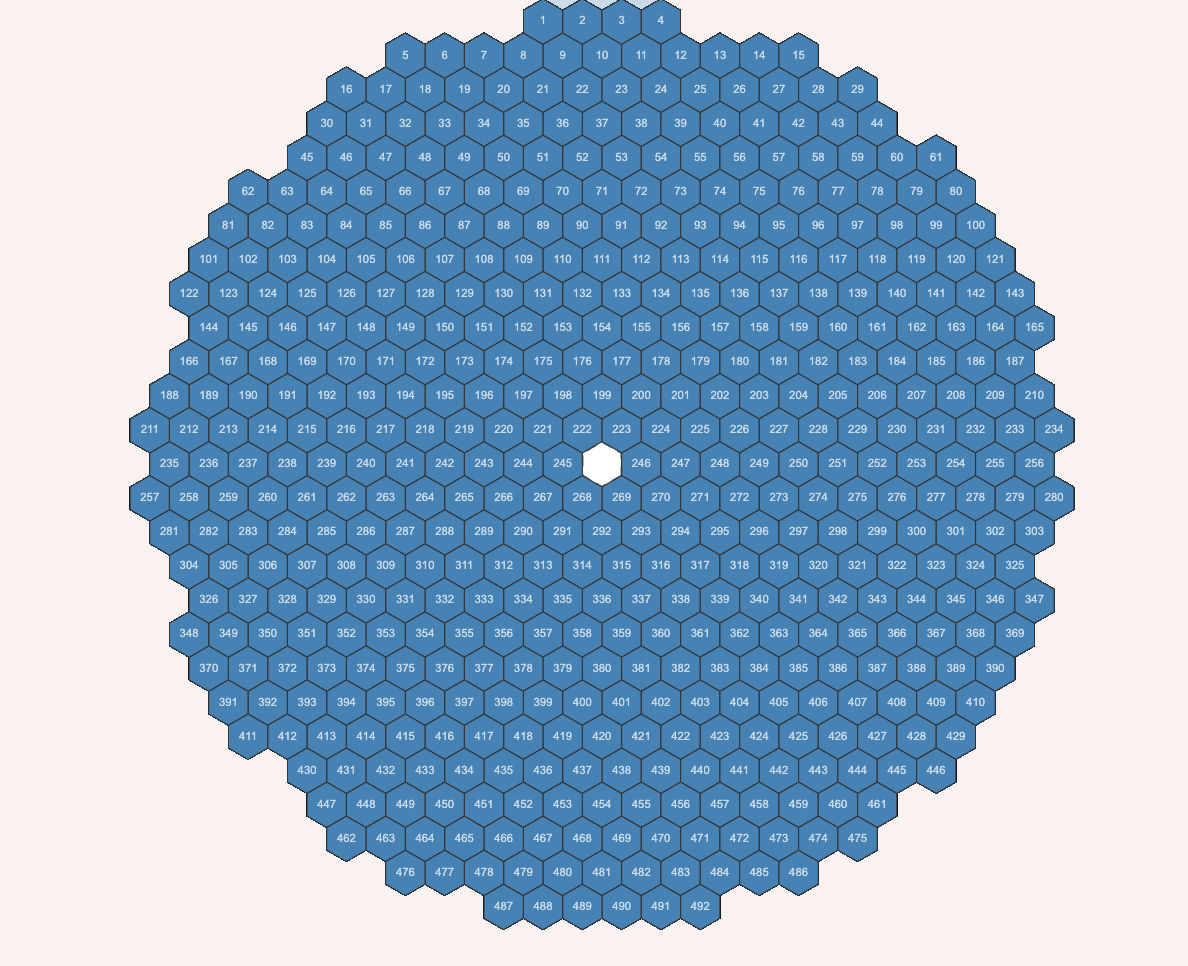
Step 7: Adding Numbering and Tooltips
Claude initially assigned numbers based on ring index, not row order.
“You are generating numbers based on position in the ring... But the numbering should be row-based. So we should somehow map the rings to the row. For example, Ring 13 segment number 483 is in row 1 and should be numbered 1, etc. Can you suggest a way to map segments from rings to rows this way?”
Once this mapping was implemented, everything fell into place:
- A circular layout of 492 numbered segments
- A small central gap
- Tooltips showing segment metadata
- Visual symmetry from outer to inner rings
Reflections
This experience taught me several key lessons:
- LLMs help you get on with it: Even with zero knowledge of D3.js or SVG geometry, I could start building immediately. The AI scaffolded the coding, and I learned through the process.
- Prompting is iterative: My first prompt wasn't wrong — it just wasn't specific enough. By reviewing the output at each step, clarified what I really wanted and refined my asks accordingly.
- LLMs unlock learning through building: In the end, I didn't just get a working UI. I got an understandable codebase and a hands-on entry point into a new technology. Building first and learning from it.
Conclusion
What started as a vague design idea turned into a functioning, symmetric, interactive visualization of the Thirty Meter Telescope's mirror — built collaboratively with an LLM.
This experience reaffirmed that prompt-driven development isn't just about generating code — it's about thinking through design, clarifying intent, and building your way into understanding.
If you've ever wanted to explore a new technology, build a UI, or tackle a domain-specific visualization — don't wait to learn it all first.
Start building with an LLM. You'll learn along the way.
latest article (Jul 08):
previous article:
next article: